
HANDMADE WITH LOVE
...AND A LITTLE BIT OF HELP
The Baby Eats The Alphabet scrapbook-made-easy kit contains everything you need to create your very own food adventure, but we thought you might want a bit of inspiration to get you started. There is no wrong way to put your book together. You can use all of the included supplies and embellishments, or you can keep it simple with just a photo on each page.
Check out our tips and tricks below.
We would LOVE to see what you come up with! Snap a picture of your books and tag us @babyeatsthealphabet on Instagram and Facebook.

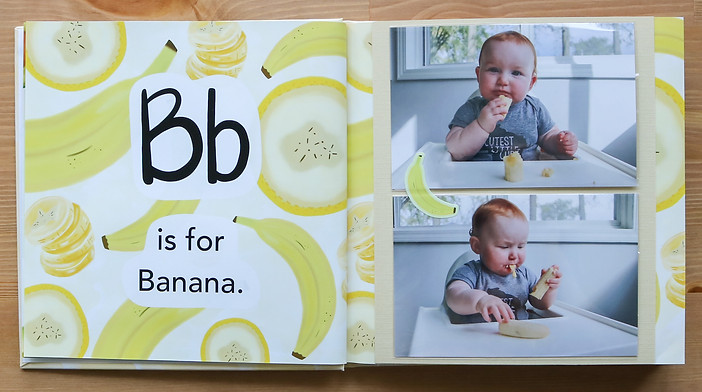
4" x 4" LAYOUT TIPS
*Note that printed photos are not included in your kit


Use your included cardstock paper to add a colorful border around your photos.
Try to leave some room between the spine and the edges of your photos to help make sure your book will close correctly.

Alternate the position of your photos from page to page to keep it interesting!
Use the included washi tape to tape down the corners of your photos for extra durability.


Add the included thought bubble stickers next to your favorite photos to help them stand out.
Use contrasting colors to make your photos pop!


Consider placing stickers where photos intersect. This gives your eye a natural transition from photo to photo.
On more detailed pages, use complementary cardstock and washi tape colors to keep a cohesive look.

FEELING INSPIRED?

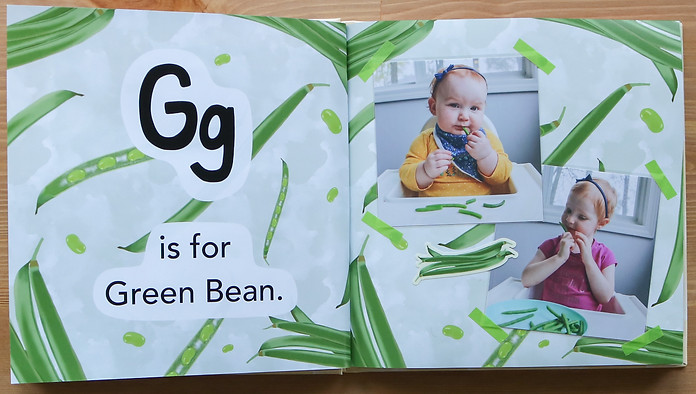
4" x 6" LAYOUT TIPS
*Note that printed photos are not included in your kit
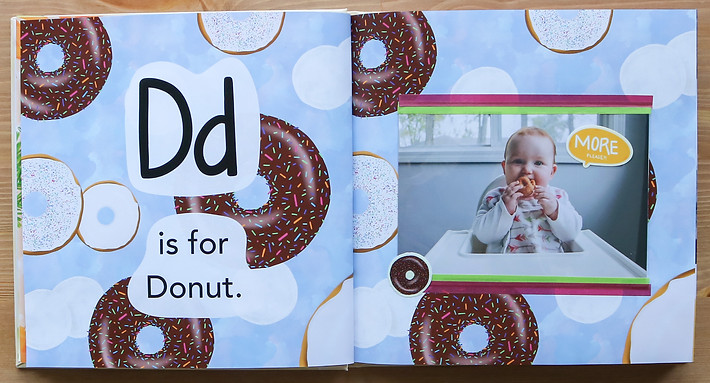
There's nothing wrong with going simple! The quickest and easiest layout option is one 4" x 6" per page.
You can spice it up with the included washi tape and thought bubble stickers. Add more fun with one of our food sticker sheets, available for purchase in our shop.

Our page sizes are 8.5" x 8.5", so YES, you can fit two 4" x 6" photos per page.

If you want to place two photos side by side, we do recommend overlapping them slightly. If your photos are too close to the spine, it may cause the book to remain ajar when closing.

You can also stack your photo vertically! You can add a sticker in-between to help shift your eyes from the top photo to the bottom.
Use contrasting colors to make your photos pop!

Use the included cardstock paper to add a classy frame behind photos.
Try to leave some room between the spine and the edges of your photos to help make sure your book will close correctly.
READY TO START CREATING?

4"x 4" and 4"x 6" COMBO LAYOUT TIPS
*Note that printed photos are not included in your kit
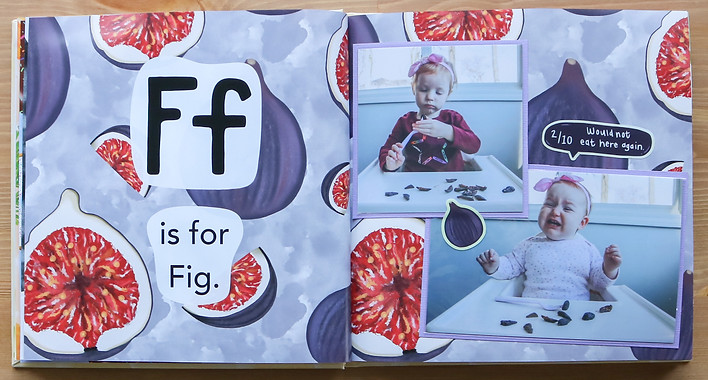
Make sure to double-check that both sizes will fit on the page without covering up any important parts of your photos.
Add the included thought bubble stickers next to your favorite photos to help them stand out.

You can stack your photos vertically! You can add a sticker in-between to help shift your eyes from the top photo to the bottom.
Use contrasting colors to make your photos pop!
If you want to place two photos side by side, we do recommend overlapping them slightly. If your photos are too close to the spine, it may cause the book to remain ajar when closing.

Use the included cardstock paper to add a colorful border behind photos.
Consider placing stickers where photos intersect. This gives your eye a natural transition from photo to photo.

On more detailed pages, use complementary cardstock and washi tape colors to keep a cohesive look.